Posts

Showing posts with the label DIY

Into The Woods Remix

Image
Hello there! Today, I am sharing a few project using the Into The Woods Remix. I have a card, some pillow boxes and tags! It was such a popular paper collection Lawn Fawn had to bring it back! The pillow boxes were created using the pillow box die. You can use the 6x6 or 12x12 paper. This is a brand new tag set that I was itching to create with. Thank you so much for joining me! Please visit the Lawn Fawn blog to see more wonderful projects, chances to win product and details on the release!!
You're Tops In My Book

Image
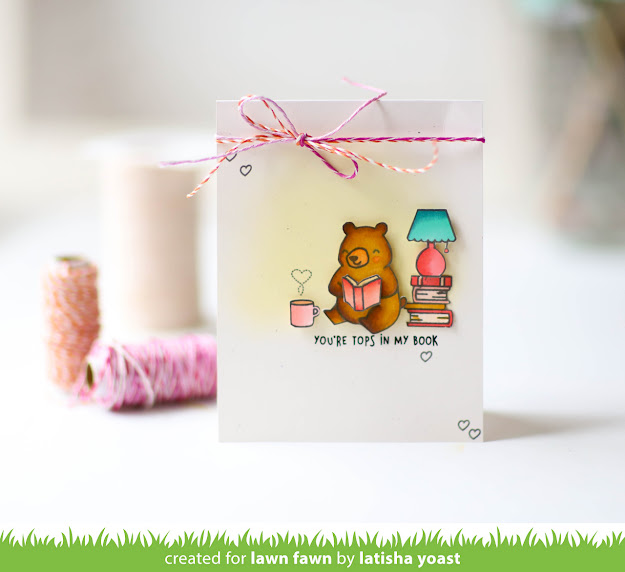
  Hello friends! I have another new Lawn Fawn card to share with you today! It is from the newest stamp set called Den Sweet Den. It has the cutest little homey stamps that a bear would love. For this card I chose the stack of books, lamp, open book, coffee mug and bear images to create a clean and simple scene. I blended some light yellow ink onto the white card base, stamped the sentiment in black and then added stamped hearts. The images were stamped, colored in with copic markers and then fussy cut out. The images were then adored to the card front with foam adhesive. To embellish a double bow using twine was added. Make sure you are visiting the Lawn Fawn Blog everyday to see the beauful projects shown!

Happy Birthday

Image
Hello friends! How are you all doing? The state of the world is definitely strange right now. This is a wonderful time to take a little time for yourself and be creative. For myself, papercrafting has always been therapy and I will continue to carve out a little bit of time each day to my craft room to escape.  For this card I first blended a white die cut panel using red, orange, yellow, green and blue inks. Then using Offset Saying, Birthday, I stamped the sentiments using the same inks.  The main sentiment and music notes were stamped onto the panel in black ink. The critters were stamped in black ink, colored in with copic markers, cut out with scissors and then adhered to the panel using foam adhesive onto a Kraft card base.  Just looking at this card makes me happy, and I cannot wait to put it in the mail.  I hope you are still following along with the Lawn Fawn March inspiration week, and check out all of the beautiful projects on the blog...

Happy Easter

Image
This scalloped treat bag is one of my favorite stand alone dies from Lawn Fawn. It is the perfect die to pair with patterned paper. Today, I am sharing this bag created out of the Dandy Day patterned paper with some of the Say What Spring Critters. The critters were stamped in black ink, colored in with copic markers then cut out and adhered to the bag.  Twine was added to the top for an embellishment.  Cute little Easter bags are a great way to package small treats.

Thank You

Image
Hello friends! I hope you all are enjoying your summer so far! My youngest child graduated High School and we had family out from California and Nevada. Also, my husband and I celebrated our 20th wedding anniversary, this past month as well. We had eloped in Charleston, SC so is was only fitting that we went back to celebrate with our family. Lately I have been a little lazy, but after the last 6 months, it has taken a toll on my mental health, so a few lazy days are in order. The stress of my husbands surgery, my son graduating, my daughter moving out...it has been a lot.  I am glad that our family is on the other side of it, and we are welcoming new chapters for all of us. Now on to my card! Technique Tuesday is releasing a new floral stamp set called Hello Hollyhocks, its a smaller stamp set, but you can do so much with it! I stamped the image twice in black ink, colored in the flower with copic markers, and then cut one of the flowers out. The sentiment and Butterf...

Cupcake Birthdays

Image
Have you been following along with the Lawn Fawn June Inspiration Week? The Fawnies, are making incredible projects, everyday someone has made my jaw drop from their cleverness. Today I have a card using the new Stitched Cupcake die set. I wanted something bright and bold, but that was clean looking.  I diecut the different pieces in pinks, aquas and oranges so I would have a selection of colors that I could mix with each other. Some of the pieces needed to be glued together, so while the glue was drying, I stamped the "happy birthday" sentiment in black ink. I adhered all of the diecut pieces to the above the sentiment using foam adhesive. Except for the hearts, those were glued on. To finish, I doubled up twine, and tied a loose fun bow. Head on over to the Lawn Fawn blog for more beautiful projects to inspire you to create!

Beach House Add On

Image
There is a die from Lawn Fawn called the Scalloped Treat Box .  What is cool about this box, is that you can use it alone, or with the add on die sets, there is a collection of them. This is the 5th add on set to the Scalloped Treat Box and its called Beach House .  The sky is the limit when decorating these  treat boxes, and since I live in Florida, I might have squealed when I first saw this beach house add on set.  I kept everything simple from colors to what I adhered, because I could have gone crazy! There are so many cool ways to style this box, I'm excited to play more with it! Head on over to the Lawn Fawn blog , to see some amazing projects with this set, they are stunning!

Blooming Hello

Image
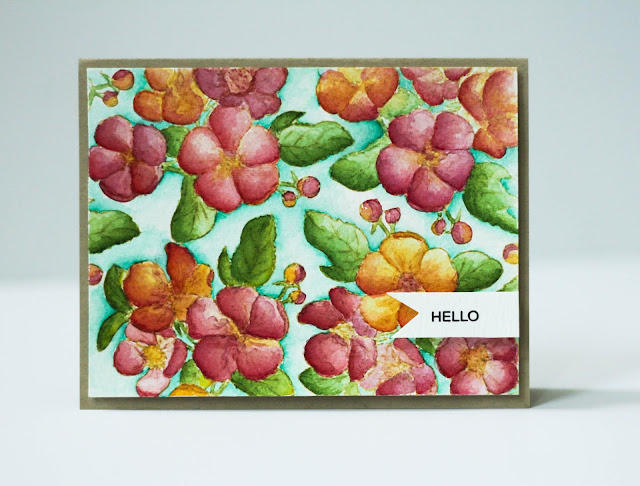
Hello friends! Today Technique Tuesday is having a fun blog hop showcasing the June release.  I used the Blooming Branches stamp set, stamped it several times onto watercolor paper using a light tan/yellow ink. Then watercolored the images using Daniel Smith watercolor pigments. The "hello" sentiment was stamped in black ink onto watercolor paper and then adhered to the panel using foam adhesive.  Here is the complete blog list of all the designers showing off new stamps and dies Seeka Norine Borys Jung AhSang   Emily Leiphart  Kymona Tracey   Dana Kirby   Nathalie DeSousa   Amy Kolling   Ana Anderson   Latisha Yoast   (here) Natasha Kara   Allison Arbour   Sheree Forcier   Yasmin Diaz  

Extra Bonus Day!

Image
Surprise! There is a bonus day for the Lawn Fawn Inspiration Week. Today is the very last day, yesterday was the release and we just had to share a few more projects. This cake slice die, is so freaking adorable. And I have to say, would make such great packaging for party favors and gifts. The die set comes with everything to complete the cake slice. Top, bottom, embellishments and details. Its a great stand alone die for sure! There is also another die set called Just Stitching Double Rectangles. This creates a double stitched rectangle on the project of choice. Head on over to the Lawn Fawn Blog to check out todays projects!

Technique Tuesday May Blog Hop

Image
Welcome to the May Technique Tuesday Blog hop here is the full list of the designers showcasing new stamps and dies Technique Tuesday Allison Arbour Sheree Forcier Yasmin Diaz Ana Anderson Jung AhSang Natasha Kara Dana Kirby Amy Kolling Latisha Yoast Emily Leiphart Kymona Tracey Norine Borys Nathalie DeSousa  Seeka I am using the Sending Roses stamp set from Technique Tuesday for my card today. The rose was stamped in black ink and then colored in using copic markers. The sentiment is in black in as well. Strips of pink and red cardstock were adhered to the white card base to tie in with the rose coloring. To give the card depth and dimension and rose and sentiment were adhered using foam adhesive. 

Keep On Swimming

Image
This new stamp set called Keep on Swimming from Lawn Fawn , is a stamp set made to be used in conjunction with the reveal wheel die. However, the images and sentiments are perfect to use alone as well.  I knew I was going to paint the goldfish and orange tone, so the fake tan cardstock was an easy choice to pair with (the hearts were stamped in clear ink). The white panel is actually watercolor paper and the images are colored in using watercolor pigment inks.  Sometimes it is very hard to get a clear impression especially with sentiments when you stamp onto watercolor paper. But, when you use a stamping platform where you are able to stamp the same image or sentiment multiple times, perfectly, you will get that nice and even stamped image/sentiment. To tie the card together, I finished by adding trimmings to coordinate. Head on over to the Lawn Fawn Blog to see much more inspiration.

After Every Storm

Image
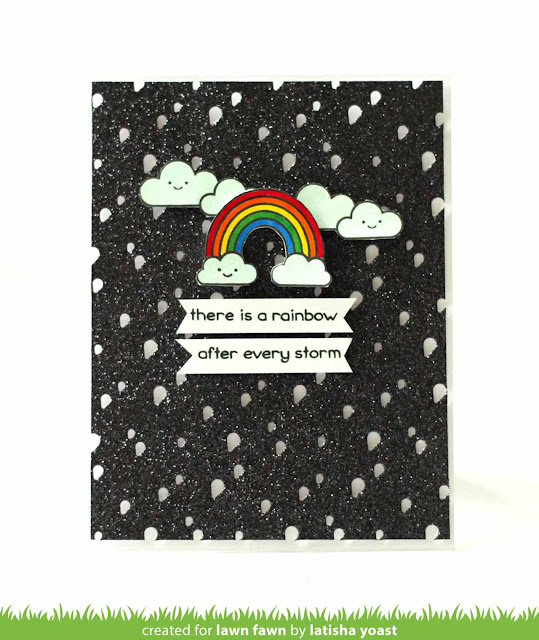
Hello friends!  Today over on the Lawn Fawn Blog , the fawnies are showcasing cards using this Rainy Backdrop die. Can we just talk about the sentiment for a second? There are no truer words. If you ever find yourself in the middle of a "life" storm, remember these words. I remind myself of them all the time. There were a few different cards that I created but settled on the black glittered cardstock. It packed such a pretty punch paired with the Rain or Shine Before n Afters rainbow and sentiments. The glittered cardstock adds such a nice touch, especially when using a backdrop die. It stands out and makes a statement. The rainbow and clouds were colored in using copic markers, then adhered to the card with foam adhesive. 

Llama Tell You

Image
Hello friends! Today I am sharing a card using the stamp set called Llama Tell You from Lawn Fawn . This is a 2x3 inch stamp set (and only $4!!). I love that with such a small stamp set I can fill an entire card.  The llamas were stamped in black ink onto white cardstock and then colored in with Copic Markers. I cut out the llamas with scissors instead of die cutting them. Before the llamas were adhered to the card front with foam adhesive, the sentiment was stamped in black ink at the bottom of the card. At first adding black twine seemed like it would finish and embellish the card well, but then decided to use enamel heart stickers, in coordinating colors. Head on over to the Lawn Fawn Blog for more inspiration using this stamp set!

Sending Sunshine

Image
Lawn Fawn is showcasing this stamp set called Rain or Shine before and afters today which is a perfect stamp set to use with the Magic Picture Changer die. However, I just wanted to use the stamp set as is, to show versatility.  The rainbow image, is a rainbow with a sun behind it, and clouds at the bottom of the rainbow. I wanted to have a series of rainbows. The image was stamped several times and colored in. Then using scissors cut out. I left the sun on only one of the colored images and that is how I created the series of rainbows, to create a clean and graphic design. Head on over to the Lawn Fawn Blog , to see how all of the other designers used this stamp set!

Happy Birthday

Image
This Fancy Lattice backdrop die from Lawn Fawn is so beautiful! When I first saw this die, I was so happy because it can let itself to so many different styles!  I used the Pixie Dust Sparkle glitter paper from Lawn Fawn to die cut the image, then applied it to a white card base. White on white is always so classy! The image is the cute little llama from the Llama Tell You stamp set, and is perfect for a birthday card! Llamas are so on trend, I see them everywhere! And because I'm obsessed with the Wavy Banners and stamp set, I had to add those as well. I hope you have enjoyed the March Inspiration week, and as always head on over to the Lawn Fawn blog to check out all of todays beautiful projects. And for a chance to win this die!

Waving Hello

Image
Happy St Patricks Day! Today over on the Lawn Fawn Blog the designers are sharing this Duck/Chick add on die set. It is meant for a box, but I wanted to show that it can go onto anything, so I put it on a little tote bag. This is the perfect bag to put a treat in for Easter! Yesterday the stamp and die set called Rawrsome was showcased. I created a fun no line watercolor scene. This is the perfect stamp set to create any card/tag for anyone who loves dinosaurs! My kids would have flipped out when they were little if they saw this stamp set!

Sending Hugs

Image
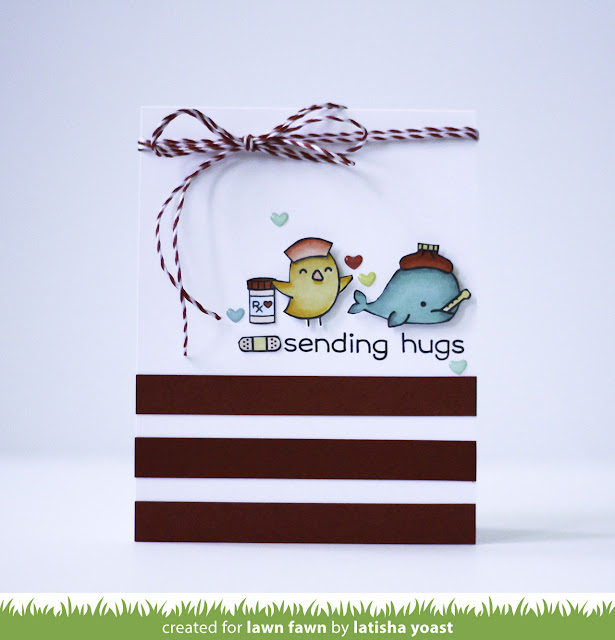
Hello friends! Long time no see! I am so sorry that my blog has been silent the last few months. My husband has had quite a few medical issues arise, including brain surgery that was not planned.  In January we learned he had something called a cavernous malformation, which he had surgery for and removed. His medical team at The Mayo Clinic (Jacksonville) has been nothing short of incredible.  A big thank you to everyone who reached out, sent positive vibes and prayers. We felt all of them! Which brings me to my card today. How fitting that its a Get Well stamp set, love it! Today I am sharing a card using the Get Well Soon Before & Afters from Lawn Fawn . I started by stamping the images with black ink onto white cardstock, then coloring them in using Copic markers. At first, the bottom of the card was going to be a solid piece of red cardstock, but it looked really plain and was missing something. So I trimmed a few pieces at .5 in x 4.25 inches, and adhered ...

XOXO

Image
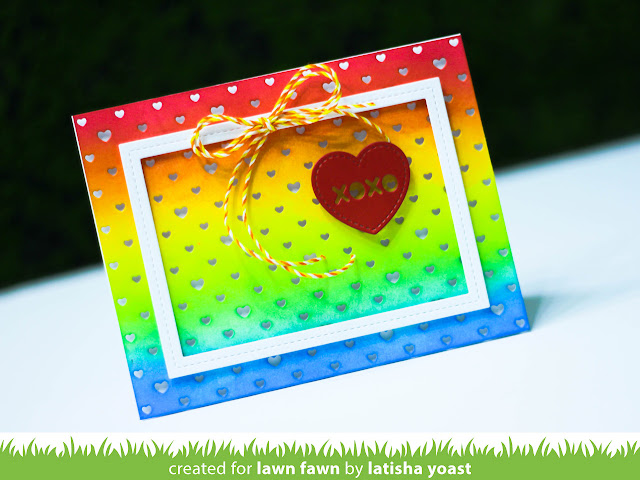
Hello friends! There is a brand new backdrop die from Lawn Fawn called Polka Dot Heart Backdrop. Its available in two options, landscape and portrait. I created the rainbow background by die cutting white cardstock with the landscape die. then using red, orange, yellow, green, teal and blue inks, blending the ink from red to blue to create a rainbow ombre. The rainbow panel was adhered to a white card base using foam adhesive. The white frame was created using a rectangle stitched frame die. For more details on this new die and more products, head on over to the Lawn Fawn Blog to win these products and to see beautiful inspiration.

Hugs

Image
Hello friends! Boy is it freezing here in Florida! I am currently dreaming of warmer weather but since  it is winter, I have brand new products from Lawn Fawn to share with you.  There is a new die set called Candy Hearts, and they are stitches along the edge and then have cute sayings on the inside and then one of the dies is a solid heart. I started by applying ink onto white cardstock until I was happy with the color. Once the ink dried, using the heart dies, I die cut the card stock and placed the diecuts aside. Using the portrait heart backdrop die, I diecut a piece of vellum. I then used the vellum as a stencil, and applied the same ink to the card front. The stencil was slightly moved, in between applying inks, to get both colors to show up. Head on over to the Lawn Fawn blog, to see all of the wonderful projects using this new product.

Magical Christmas

Image
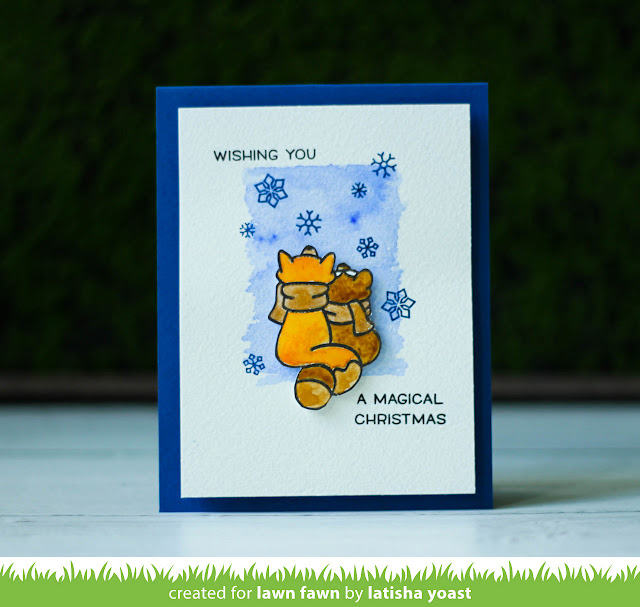
Watercoloring can be very intimidating, even for me. But the more I watercolor using good brushes, and watercolor pans, and a watercolor I like, the more it becomes muscle memory.  Using the same materials each time, dramatically helps with consistent results (for me). I began this card by creating a rectangle water wash onto the watercolor. Then dipping into a blue ink, creating a blue background, which is considered a wet on wet technique.  Once dry the snowflakes were stamped on top in a navy ink, and the sentiments were stamped in black ink. Using the same watercolor paper, the foxes from the Winter Skies Stamp set were stamped in black ink onto a separate piece of paper, and then water colored in using, sepia, brown and orange tones.  You cannot tell in the photo but a shimmer watercolor was added to the scarves to make them sparkle. Once dry the foxes were cut out and adhered to the panel using foam adhesive.  The panel was then adhered to navy blue ...