Posts

Showing posts with the label Latisha Yoast

A few projects to share
Image
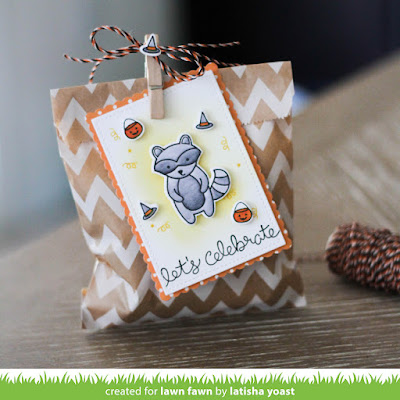
I have a few projects posted on different blogs this week.  So I will share the photo, then the link on where you can get all of the details of my project. This week Lawn Fawn and Chameleon Pens are teaming up.  I created this fun treat bag with Halloween in mind.  Head on over to the Lawn Fawn Blog for more details! I made a "Boo" treat bag.  It is featured over on the Fancy Pants Designs Blog .  Head on over there for the full list of supplies that I used. I created this simple card, and it is featured on the Scrapbook Adhesives by 3L blog . This shaped card and a full tutorial are on the Spellbinders Paper Arts Blog .
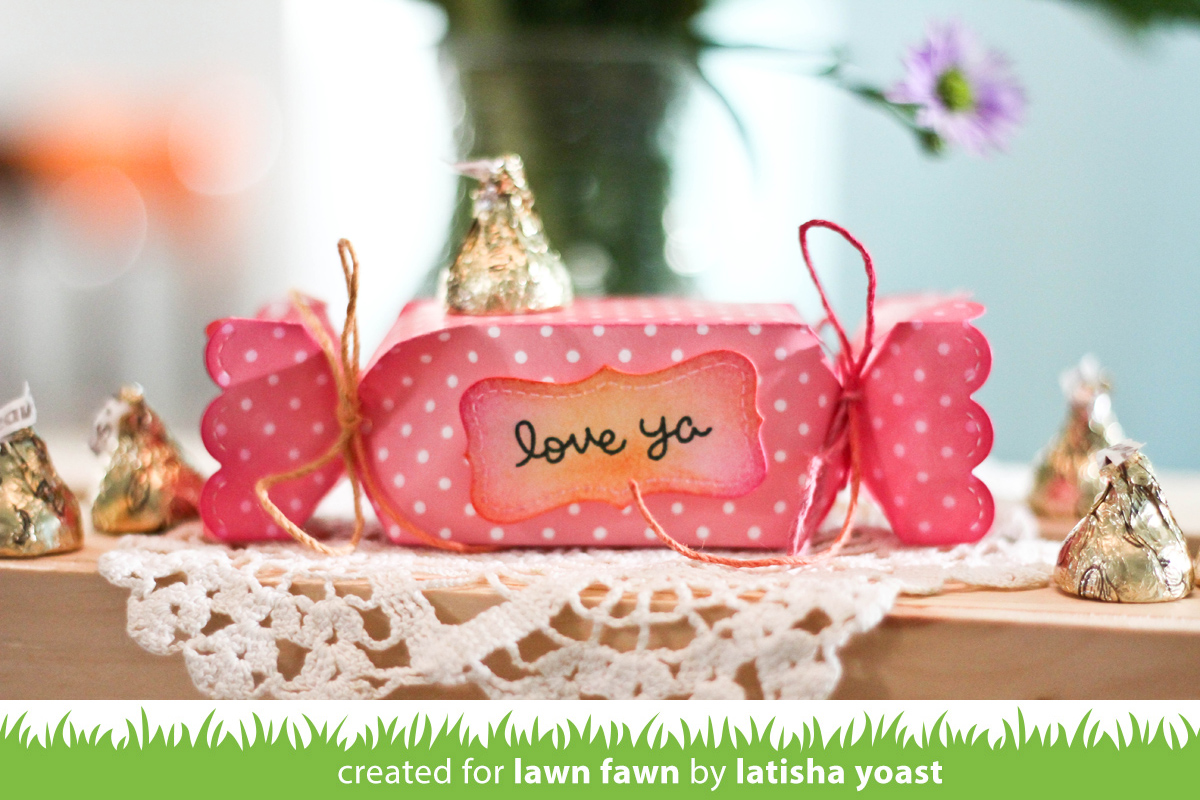
Lawn Fawn: Candy Box & Stitched Labels dies

Image
Happy Valentine's Day!! Do you have any special plans today? I have a few gifts for my children, I'm going to craft and maybe go to an early dinner with a friend.  My hubby is away right now, but before he left he gave me a Starbuck's gift card.  He totally gets me!  Love that man. Anyhow, today I am sharing a candy box from Lawn Fawn. So cute right?! It was made from a die people! You just cut it twice, adhere it together and bam, cuteness to store happy things like candy lol. Head on over to the Lawn Fawn blog to see more inspiration from the design team and more great projects...oh and a chance to win these products!! I used the new Lawn Fawn Candy Box die.  I cut it twice, placed adhesive on the edges, and adhered it together.  I tied one of the ends with Lawn Fawn trimmings, then filled it with candy, then tied the other end shut.  To give the candy box a little more oomph I inked the edges, it seemed to make it look more finishe...

Lawn Fawn: Gleeful Gardens

Image
Hello & Happy Valentines Eve! Today I have a super fun and cute card, that is just perfect to send to a friend, family member or just anyone you really like.  I am using the Gleeful Gardens stamp set from Lawn Fawn.  Make sure you head on over to the Lawn Fawn Blog, because they are giving away a ton of stuff this week, not to mention all of the projects are super duper cute!  Like cuteness overboard really, and who doesn't want more cute in their life? Right?! For this card, I did quite a bit of stamping and die cutting.  The great thing about stamps with matching diecuts is that you get a great even border around your stamped image, and no more fussy cutting!  I like to stamp an image, color it in, and then using a low tac tape I secure the dies over the stamped image.  You certainly can have a different process, but this is just works for me. I used a ton of Scrapbook Adhesives by 3L 3D Foam squares for this card, to get all of th...

DIY Chicken Wire Jewelry Holder

Image
My daughter just finished up her summer semester at Florida State University.  During the summer she lived in the dorm, and brought her jewelry box with her.  When we moved her out of the dorm last week, Kendall mentioned that she didn't want to bring her jewelry box back in the fall because it took up too much space. The other day, she was showing me wall jewelry organizers online.  A lot of them were a little pricey, some were not that cute and didn't match her decor.  So I started a little search myself, and found chicken wire filled frames that were altered to hold earrings/necklaces. I have always wanted to make one of these for myself, to place over my desk and used for special photos (attached with a clothespin), but I honestly just have not gotten around to it.  Yesterday I decided I was going to make one, and headed to Home Depot. Here is the finished project, below I will give step by step directions on how I made this chicken wire jewelry holder....