Posts

Showing posts with the label merry christmas

Merry Blooms

Image
Who is ready for some Christmas in July? There is a new kit from Taylored Expressions called Merry Blooms. It has stencils, red rubber stamps, clear stamps, dies and more! For this first card, I started by stamping the leaves onto lime zest cardstock using a Misti tool. There are a few ways to get vivid ink onto colored cardstock. You can either use oxide inks, or use a pigmented white ink, let it dry and then go over the white ink again with the ink color of your choice. For both techniques, using a Misti tool is necessary for perfect stamp placement. Once the leaves were stamped, the poinsettia stencil was used to ink blend the red flowers. Using the clear stamps and coordinating red ink, the stems of the flowers were stamped over the stenciled flowers. The sentiment was stamped in black ink, then to make the card pop, a white pen was used on some of the leaves. For this card I wanted to use the poinsettia flowers from the stencil to create a bold rainbow Christmas card. I would ...

Merry Christmas

Image
Is there anything better than watercolored poinsettias? Very few! They are just a prominent image that reminds me of Christmas. This is a brand new stamp set from Technique Tuesday . I am not even going to lie. It took a few days to color in this panel. I wanted each color to be completely dry before moving on to the next.  This isn't the kind of card where I wanted the colors to blend into each other. So I had to practice patience and take my time. It is really hard to photograph subtle sparkle.  The gold was watercolored with a gold sparkly Gansai gold, which is so glittery in person, it just doesn't show up on camera. However, the Wink Of Stella Clear glitter pen, kind of shows up along the border of the poinsettia blooms. This card was very intensive to color, but it was so relaxing! I love how it turned out! The front panel in Fabriano cold pressed watercolor paper, then the poinsettia was stamped multiple times using VersaFine Onyx Black ink.  The...

Warm Wishes

Image
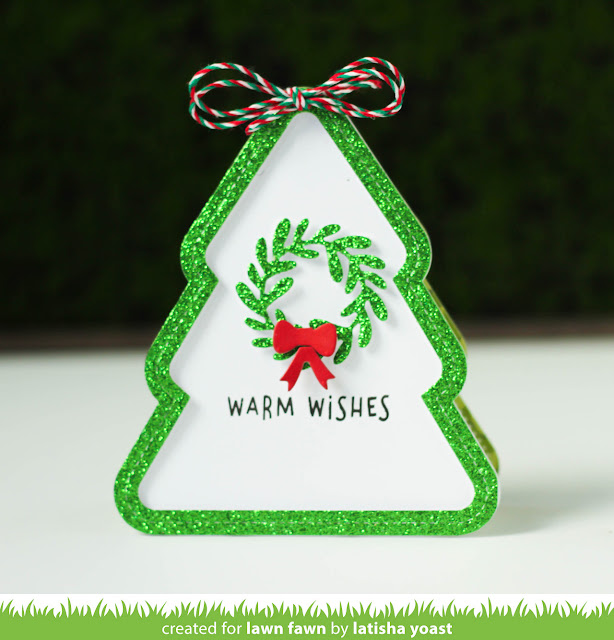
Hello friends! Making a shaped card is so much fun! I know it confuses a lot of people on how to make them, but it really is so easy. If shaped cards are not your thing, then you can always make tags, put the dies onto a card, or make a banner. Options are really limitless when it comes to using shaped dies. For todays card, I created the base of the card using the Stitched stackable tree die from lawn fawn. One for the front and the back. For the back of the card, score a line 1.5 inches down from the top of the tree die, and place adhesive above the score line. Adhere the front die. Stamp the sentiment in black ink onto the card front. Next die cut glittered green cardstock using the Stackable tree frame die and wreath. Adhere both to the card front using foam adhesive. Die cut the bow using red cardstock and adhere using the glue tube. Most of this card involves die cutting so it was super quick to create. If shaped cards are not your forte, use the tree di...

Merry Christmas

Image
The paper collection from Lawn Fawn called Really Rainbow Christmas is so bright, happy and will certainly bring cheer!  Cards that have a lot of white space, and pops of color, are so attractive. So that is what I had in mind when I was designing this card.  The red frame was created by die cutting a piece of red pattern paper, then adhering it to the card using foam adhesive. The banners were created by using the Bunting Borders die set, and petite Really Rainbow papers, some were adhered with foam adhesive and some with just tape runner, to help give the card dimension. The tree was created using the Outside In Stitched Christmas Trees and Stitched Christmas Tree Frames die sets. They layer perfectly and were adhered together using foam adhesive.  The sentiment from Simply Winter Sentiment was stamped using black ink, trimmed to size with scissors and then adhered to the card. To embellish aqua Nuvo drops. Head on over to the Lawn Fawn Blog to see mor...

Perfectly Plaid Winter

Image
I have no idea when my obsession with plaid started, but if I had to guess it was early 80's?  I love plaid shirts, plaid pants, skirts etc...so when Lawn Fawn started making plaid paper, my mind exploded.  Plaid + paper crafting = me very happy!! Today I am sharing a fun treat bag that I decorated using the Plaid Winter 6x6 paper, stamps and dies. This years winter release from Lawn Fawn is ridiculous, and I mean that in the best possible way.  From 3 plaid collections, stamps, dies and inks I am in crafty heaven!! Head on over to the Lawn Fawn blog , to see how the other designers used this paper in their projects!