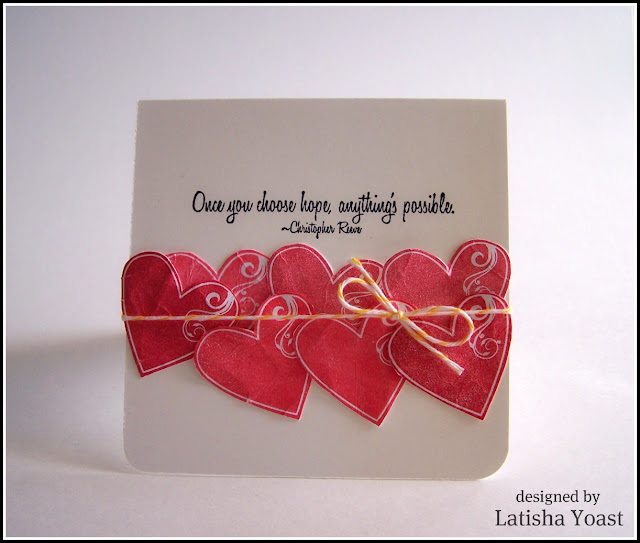
A fun card, and a heartfelt Thank You
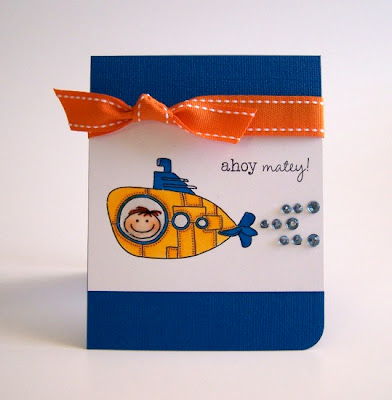
I just love these images from Waltzingmouse Stamps ...so, so cute, the stamp set is called Half Pint Heroes. I will let my son write a letter to my husband with this card, it just seems so perfect for that. I stamped the image onto some Neenah card stock (really nice to use with Copics), then colored in the cute little submarine using Copic markers. I trimmed the white card stock down to size, and then layered it onto a nice blue textured card stock from Bazill. To soften the card up a bit, I rounded one of the bottom corners. I thought it would be cute, to add a little bling in the water bubbles coming from behind the sub. It is a little girly, but I like it. Since I knew this card most likely would go to a man, I made a knot with the ribbon, instead of a bow. On a personal note, thank you all so very much for the outpouring of support you all have given me. I was so amazed and in awe of all of the woman who contacted me, told me their ...