Masking Stencils

Hello friends! I hope you are all doing well. Spring is well on its way where I live in North Florida. I love everything about this season except for the pollen. It is brutal this year.
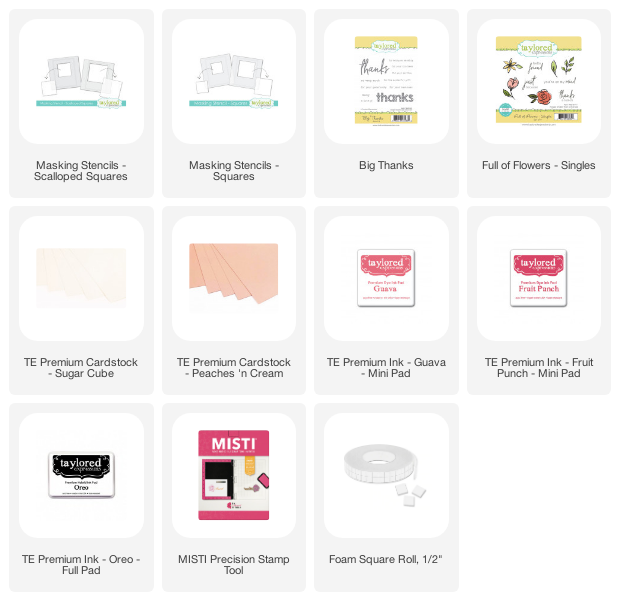
Our friends over at Taylored Expressions have some new masking stencils that are scalloped that can now be layered with the original shape. I started by blending guava ink onto peaches n cream cardstock using the square masking stencil. Then using the negative piece from the stencil, I covered up my freshly blended square. Then I placed the scalloped square stencil onto the cardstock, secured it and then blended the scalloped border with fruit punch ink. The floral image was stamped using a Misti, for perfect placement and to have a nice solid image. At first glance the "thanks" looks like a die cut, but it was stamped multiple times in black ink. Very carefully, I cut the entire square and flowers out with scissors. If you look in the corner of the floral leaves you can see the peaches n cream cardstock that I started with. To finish, the panel was adhered to a card base using foam adhesive.

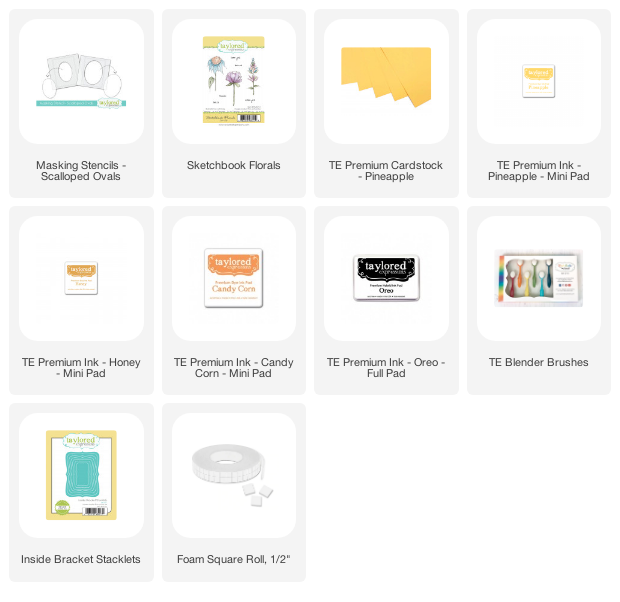
I love to create a focal point, then repeat it again on the card. This card was started by ink blending some yellows and oranges with blender brushes using the scalloped oval masking stencil onto white cardstock. While the stencil was still secured on the cardstock, the floral image was stamped in black ink. Once the ink dried, the image was diecut using an instde bracket stackable die and a sentiment was stamped in black ink. Using the same inks & image, a custom background was created by stamping the flower multiple time. Both panels were then adhered to the card base.
 |


Comments