TE Easter Release!

Hello friends!
I get to share such a fun release with you all today, from the Taylored Expressions Easter Release. I think there is a little something for everyone. Make sure you head on over to the website today to see whats new!
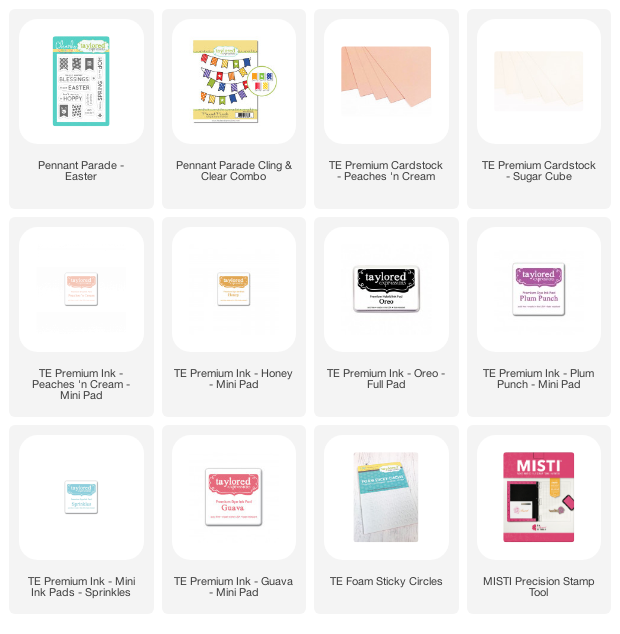
For this first card, I wanted to use colors I typically don't use together but are bright, colorful and scream spring. The cardstock was cut and scored to 4.25 x 5.5 inches. To begin the Pennant Parade stamp was stamped directly on top of the card base. Using the clear stamps from the Pennant Parade East Set, the pennants were stamped multiple times with different ink colors. They were cut out and set aside. The sentiment was stamped in black ink, and the the little elements around the banner were stamped as well before the pennants were adhered to the card using foam adhesive.

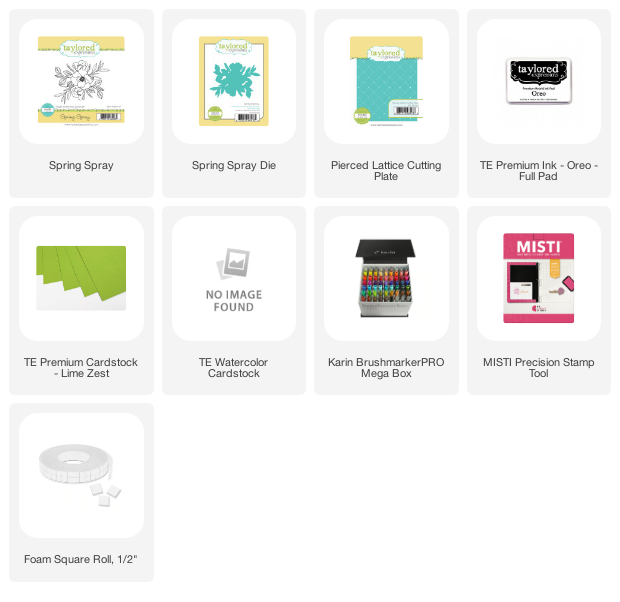
I love it when a cared turns out exactly how you picture it in your mind. This is such a beautiful stamp, I cannot wait to create more cards with it! To start the card base was created with lime zest cardstock, then layered with a diecut piece using the Pierced Lattice Cutting Plate. The floral image was stamped in black ink onto to watercolor paper, and then colored in with Karin markers. The image was diecut using the coordinating die and adhered to the card using foam adhesive for added dimension. Using the same green cardstock, the thinking of you sentiment was stamped in black ink and adhered to the card to finish.

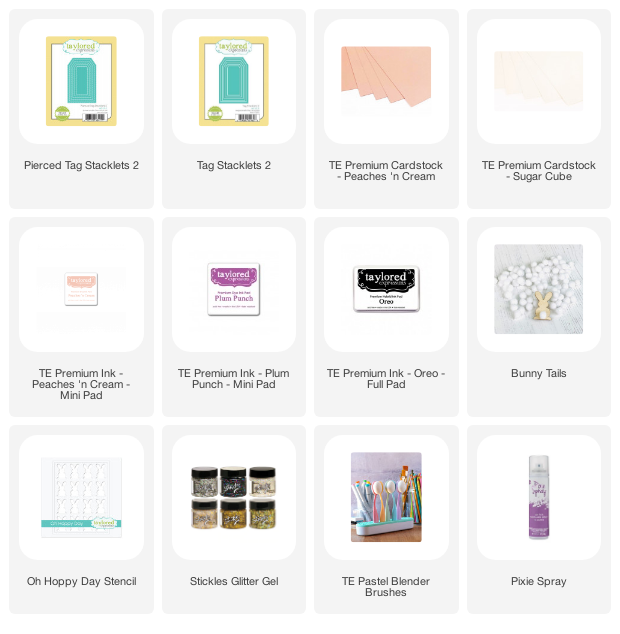
There is nothing better than a tag! Not to mention how fun they are to make. This one involves some simple stamping, stenciling and die cutting. Super easy to replicate. First the base of the tag was diecut using Tag Stacklets, then using the blender brushes and ink, stenciling the Oh Hoppy Day stencil onto the tag. The layered die was diecut using the Pierced Tag Stacklets die in a smaller size. Again using the Oh Hoppy Day stencil, but this time adding glitter gel over top. The tags were adhered together using foam tape, and embellished with a wooden bunny and ribbon.

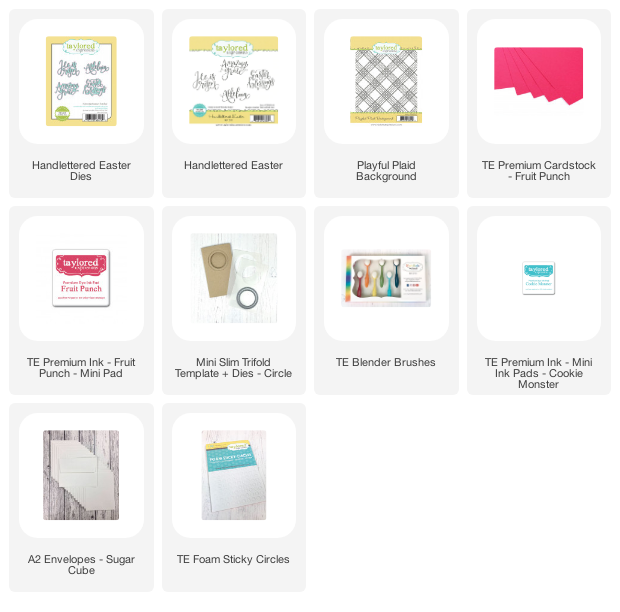
This is the perfect card for when you need to make something quick and put it in the mail. The playful plaid background stamp was stamped in the same ink as the cardstock, to create a nice tone on tone design. Using a lighter shade of ink, the circle was stenciled in. The sentiment was stamped in blue ink and then diecut using the coordinating die and adhered to the card. Super simple, super quick and super cute!


Comments