Interactive Thank You

Do you like interactive cards? Taylored Expressions has made this theater fold interactive die kit, so so easy. You will need to diecut the outer layer, and two inside pieces. But included are pieces already diecut and scored, ready to use.
After die cutting sugar cube cardstock to create the top layer. Using watermelon, candy corn and pinapple inks, the diecut panel was ink blended to create a gradient of red/orange/yellow. A stencil was placed over the panel and ink blended again to create a design.
The thank you sentiment was stamped, then diecut to place over the pre cut and scored diecut pieces. Then using the same stencil and ink colors, to create the same pattern.

When you pull the sides of the card apart, there is a secret area to place another sentiment/image. So fun!


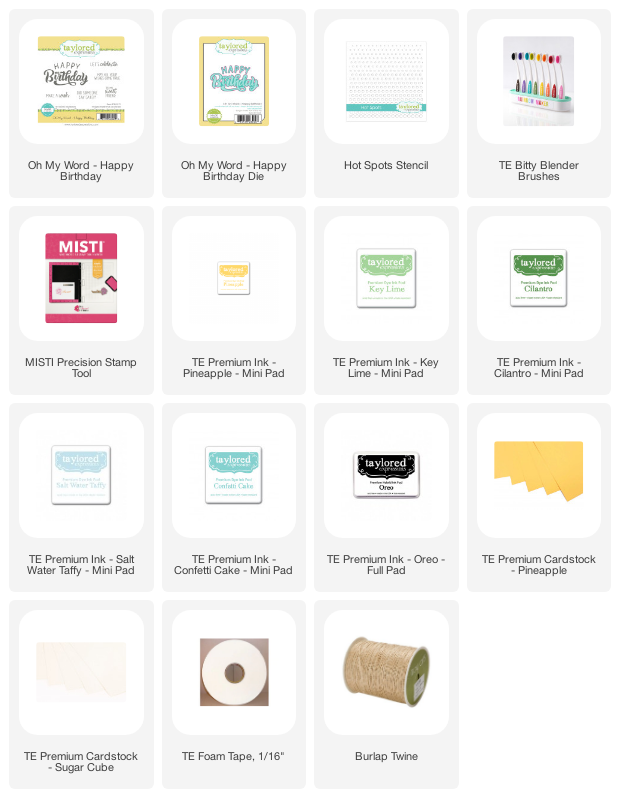
I am loving these big bold sentiments with coordinating dies. They really can add that extra zing to a card when you stamp the sentiment onto colored cardstock and diecut it out.
To start, a stencil was placed over the cardfront and using multiple different inks, the background was created. The sentiments were stamped in black ink. Then the "birthday" was stamped again with green ink onto a yellow cardstock, diecut and adhered to the card using foam adhesive.

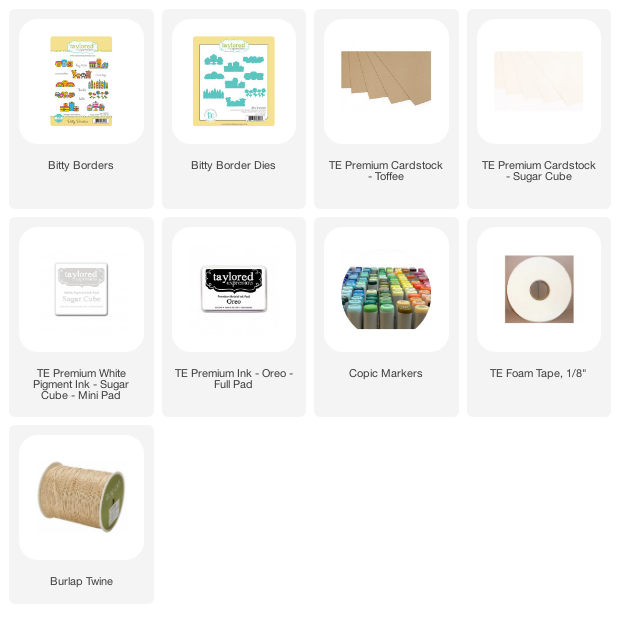
How fun is the bitty borders stamp set! I was immediately drawn to the telephone trio image. Using sugar cube ink, toffee cardstock and the image, the background was created. As the ink sat and dried, the image was stamped again with Oreo ink onto sugar cube cardstock, colored in with copic markers, then diecut. The "hello" sentiment was stamped in black ink, multiple times onto the card front. Then the telephone diecut was adhered using foam adhesive. The twine bow was the final touch for an embellishment.


Comments