Taylored Expressions Pastel Blender Brushes & New Stencils

Hello!
I cannot believe it is October 20, 2020! I honestly did not thing that the pandemic and shut downs would last this long. Does anyone else feel exhausted and fatigued from this year? I am hoping the holidays bring me more joy as I finish out the year. One can never have too much joy and happiness. Speaking of joy and happiness, I get to share a few new products with you today from Taylored Expressions. They are releasing new stencils and PASTEL BLENDER BRUSHES! I mean come on!! It doesn't get better than that. I love a good tool. Head on over to the Taylored Expressions website for more info on this release!!
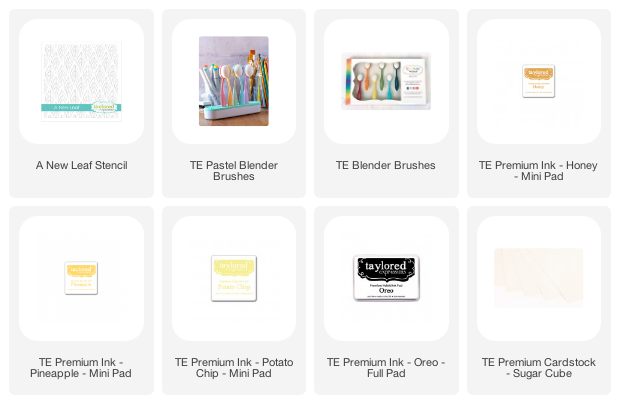
So, For this first card I used the stencil called A New Leaf. To me, the image looks similar to hops. Its a plant that grows hops for beer, which looks close to wheat. Anyhow, they are beautiful. So with the hops/wheat in mind I wanted to use yellow tones as a blended background. For added interest I did not blend the entire card. This is a perfect masculine card in my opinion.


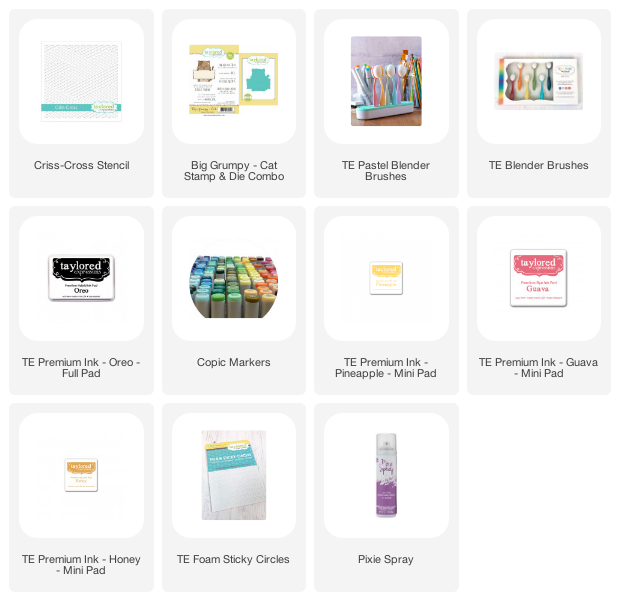
This card used the criss cross stencil. I blended yellow, orange and pink inks onto the card base. Then while the stencil was over the card, I gently cleaned the ink off and then layered Nuvu glitter gel over top. What you end up with is a super sparkly glittered background. The grumpy cat was colored in with copic markers, diecut with the coordinating die and then adhered to the card front using foam tape.

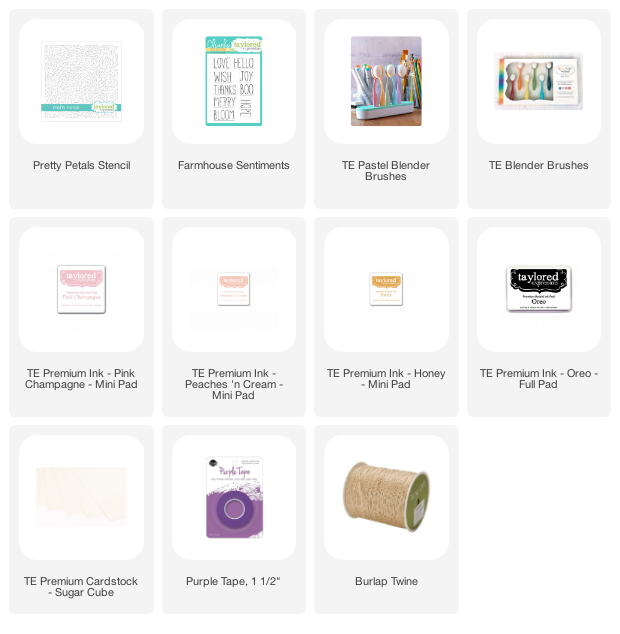
What I love about stencils is how you can create a beautiful card full of depth, that is beginner level so no advanced techniques are involved. That only take one stamp to mail. For this card I used the Pretty Petals stencil. I first laid it down at the top of the card, aligning it with the design of the stencil that I liked. Then lightly blending pink and orange ink on only part of the card front. Then I moved the stencil down to the left corner and blended more orange than pink, again having a lighter touch. The card was finished by adding the "bloom" sentiment and twine for added interest and embellishment.


Comments