Taylored Expressions October Christmas Release

Hello friends! Today I am sharing with you my October Christmas Projects from Taylored Expressions!

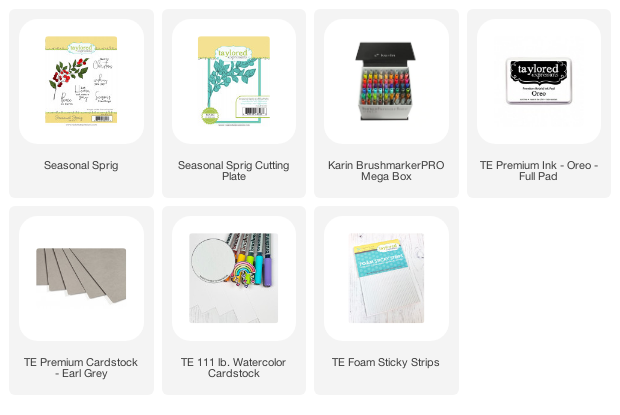
There is just something so pretty about holly berries. For this card I stamped the Seasonal Sprig stamp onto watercolor paper, then using the coordinating die, die cut it out. The image was colored in using Karin ProBrush markers fo a soft watercolor effect. I put foam adhesive on the back of the front panel and set it aside. The card base is Early grey. The sprig was stamped again in black ink along with the sentiment and the front panel was adhered on top.

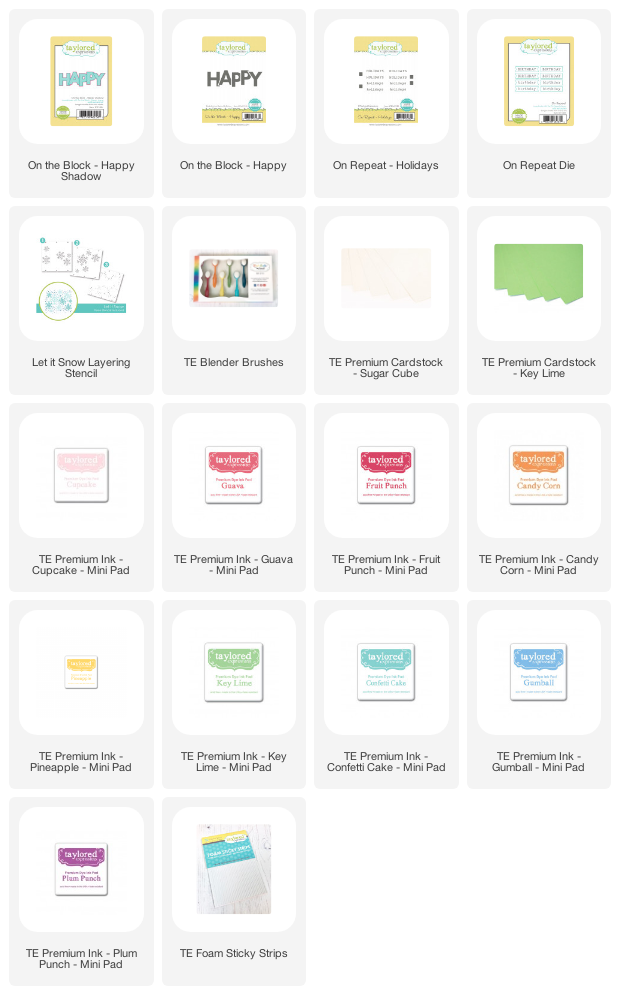
I am obsessed with rainbows, especially on cards. If 2020 has taught be anything its to lean in more to things that bring me joy. This card has a few different TE stamps and stencils but it all works together to create a rainbow snowflake scene. The Let It Snow layering trio stencils, are 3 different stencils. From left to right I used pink, reds, orange, yellow, green, blue and purple inks along with the blender brushes to create the background. Then using the same inks, I did the same with stamping the "happy" sentiment. I did this using a stamping platform. The "happy" was die cut out, and adhered to the card front with foam adhesive. The "holiday" sentiment was stamped with black ink, onto white cardstock, diecut out and adhered to the front using foam tape as well. The snowflake front panel was then adhered to a green card base and twine was added for a final embellishment.

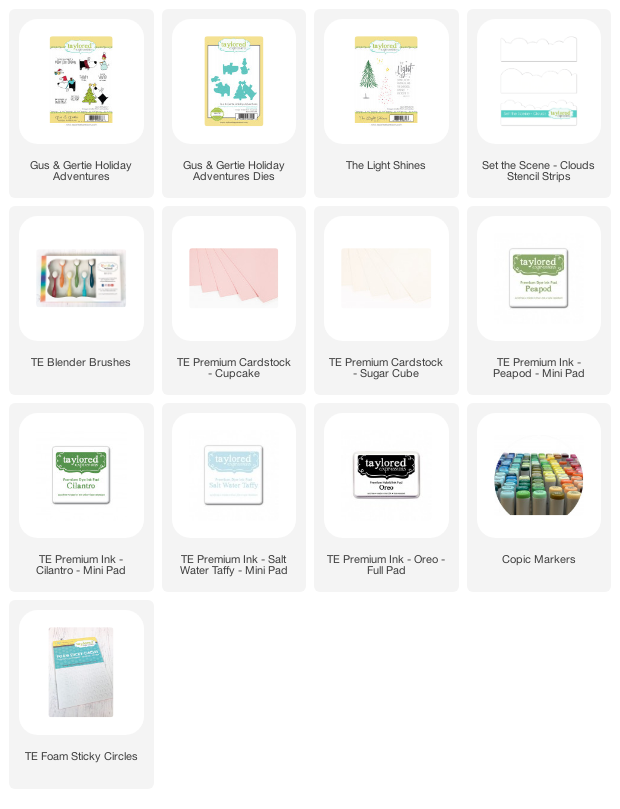
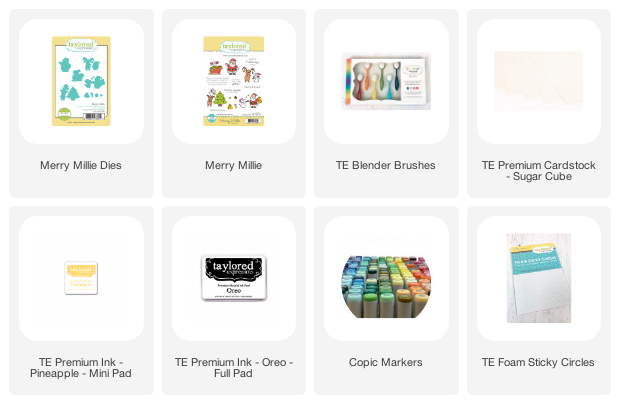
A little bit of scene building went into this card. I started off by stenciling clouds in a light blue ink on the top of a white cardstock panel. Then ink blended green on the bottom part of the panel. The trees were stamped in two different colors for added depth. Then the images were stamped in black ink, colored in with copic markers and diecut with the coordinating dies. Before the stamped images were adhered to the card front with foam adhesive, the sentiment was stamped in black ink. The panel was adhered to a pink card base for contrast.
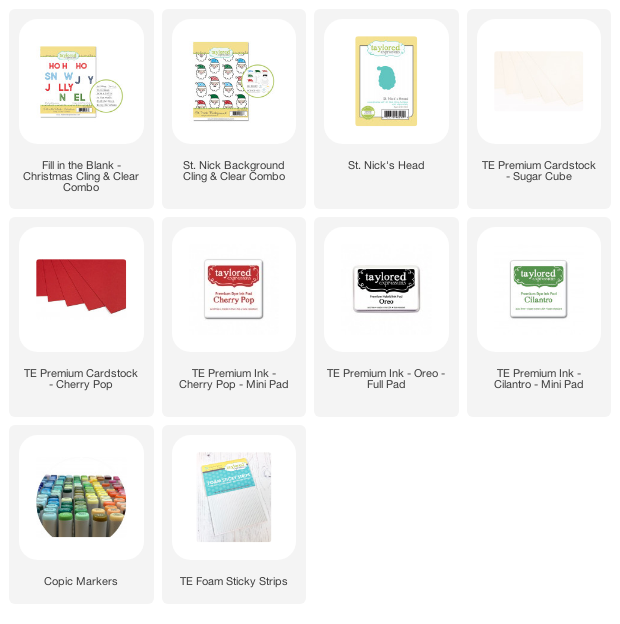
The St Nick Background stamp and Fill In The Blank Christmas, go together so well! Not only in the St Nick Background super cute, It also comes with clear stamps to decorate Santa's hat, and super cute sentiments. Plus there is a die that will die cut a Santa out for you. I stamped the Jolly in black ink, colored in the center with a red copic. Then stamped the St Nick Background in black ink, found a Santa that I liked, diecut him with the coordinating die and then stamped his hat with a plaid stamp and colored him in with copic markers. The sentiments, star and snowflakes were stamped in green and red inks for a traditional festive Christmas card.

Sometimes, I just want a one layer-ish cute card. Just some good old fashioned stamping and coloring. This is a fairly straight forward card. I created a white card base, and then ink blended yellow ink on the front. Then using the same ink, stamped the stars from the stamp set, and in black, stamped the sentiment. The images were stamped in black ink, and then colored in with copic markers. For dimension the images were adhered with foam adhesive. Twine was added for a final embellishment.

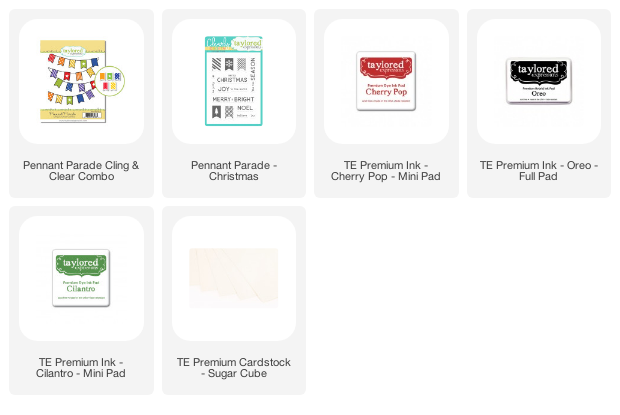
Now this is a true one layered card. You have a card base with stamped images ready to be mailed and 100% just a one postage stamp kind of card. These are the easiest kinds of cards to mass produce. I started by stamping the pennant parade red rubber image in black ink onto the card base. Then using the Pennant Parade Christmas clear set, I was able to stamp inside of the pennants to create a red and green Christmas background. To finish the sentiment was stamped in black ink as well.


Comments