Posts

Showing posts from February, 2015

Lawn Fawn Let's Polka Mon Amie

Image
I am sharing a layout and a card, using the new Let's Polka Mon Amie paper collection from Lawn Fawn.  Head on over to the Lawn Fawn Blog , for some really spectacular projects, as well as a chance to win this collection. I love using dies on my layouts. This card was created by using the 6x6 inch paper paper.

Lawn Fawn: Flirty Frames

Image
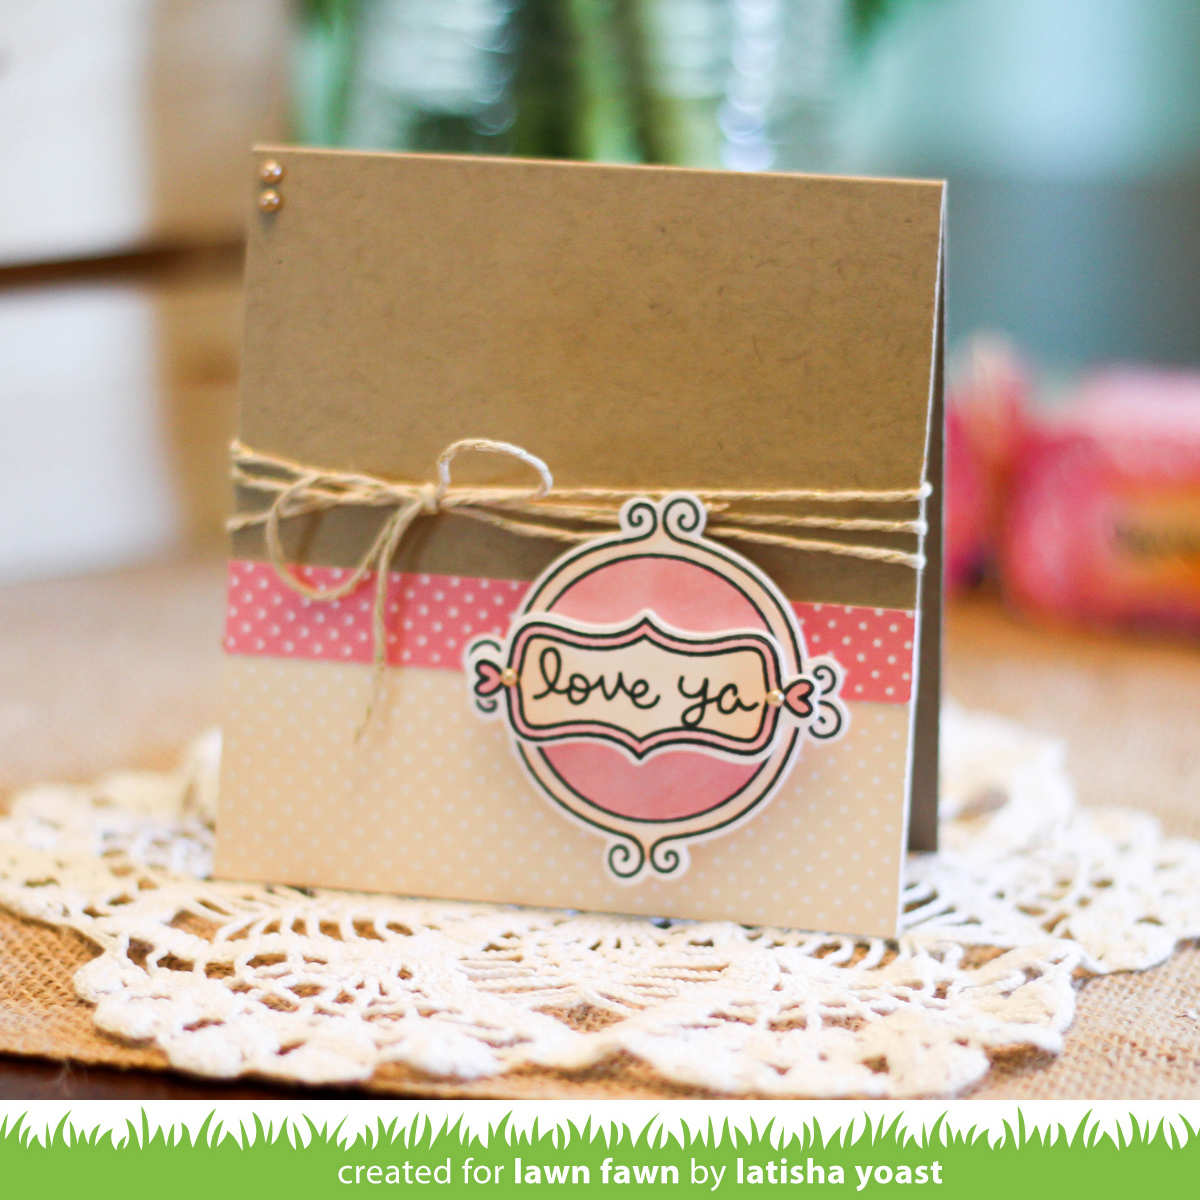
Today, I am sharing a card using the Flirty Frames stamp set and coordinating dies from Lawn Fawn. There are two stamps sets being shown on the Lawn Fawn Blog today, so be sure to head on over there to check out Scripty Sayings! I wanted to create a frame that matched the soft pink, and eggshell colors that are in the Mon Amie Collection.  So I stamped and diecut two frames, colored them in (stamped the sentiment) using Copic markers and adhered them together using foam squares, to give the flat card some dimension. To the card front, I added some pattern paper to coordinate with the stamped images, added twine, adhered the frames and added a few pearls for a soft embellishment.  I really wanted to round the bottom corners, but my corner rounders were no where to be seen, they must have overdosed & passed out somewhere from Valentine's Day chocolate lol.

Lawn Fawn: Eggstra Special Easter

Image
This new set from Lawn Fawn called Eggstra Special Easter, has coordinating stamps and dies.  Which include easter baskets, bunnies, candies a few sentiments and tulips.  I wanted to try something a little different.  So I decided to water color my scene. Since I was going to be using water, I needed to use an ink that was permanent and would not bleed.  So I chose the VersaFine onyx black ink, and heat set it (it can take a long time to dry). I am not very good at watercoloring, but what I have learned is that you must watercolor in layers.  Meaning, you apply a layer, let dry completely, then add in more color.  This can take an awfully long time, and if you mess up along the way it is very sad lol, because the amount of time invested in the project has now been ruined. Make sure you head on over to the Lawn Fawn Blog , as there is so many great projects as well as product being given away.

Lawn Fawn: Candy Box & Stitched Labels dies

Image
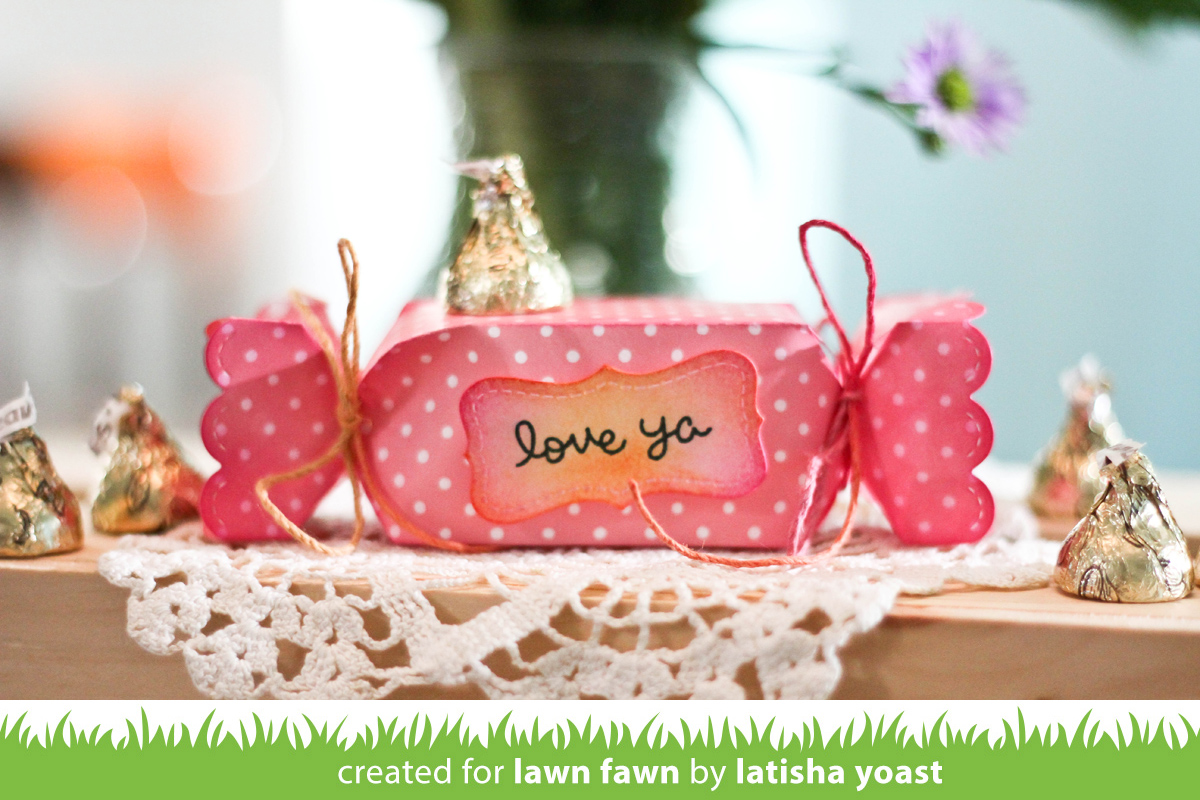
Happy Valentine's Day!! Do you have any special plans today? I have a few gifts for my children, I'm going to craft and maybe go to an early dinner with a friend.  My hubby is away right now, but before he left he gave me a Starbuck's gift card.  He totally gets me!  Love that man. Anyhow, today I am sharing a candy box from Lawn Fawn. So cute right?! It was made from a die people! You just cut it twice, adhere it together and bam, cuteness to store happy things like candy lol. Head on over to the Lawn Fawn blog to see more inspiration from the design team and more great projects...oh and a chance to win these products!! I used the new Lawn Fawn Candy Box die.  I cut it twice, placed adhesive on the edges, and adhered it together.  I tied one of the ends with Lawn Fawn trimmings, then filled it with candy, then tied the other end shut.  To give the candy box a little more oomph I inked the edges, it seemed to make it look more finishe...

Lawn Fawn: Gleeful Gardens

Image
Hello & Happy Valentines Eve! Today I have a super fun and cute card, that is just perfect to send to a friend, family member or just anyone you really like.  I am using the Gleeful Gardens stamp set from Lawn Fawn.  Make sure you head on over to the Lawn Fawn Blog, because they are giving away a ton of stuff this week, not to mention all of the projects are super duper cute!  Like cuteness overboard really, and who doesn't want more cute in their life? Right?! For this card, I did quite a bit of stamping and die cutting.  The great thing about stamps with matching diecuts is that you get a great even border around your stamped image, and no more fussy cutting!  I like to stamp an image, color it in, and then using a low tac tape I secure the dies over the stamped image.  You certainly can have a different process, but this is just works for me. I used a ton of Scrapbook Adhesives by 3L 3D Foam squares for this card, to get all of th...