Happy Birthday Technique Tuesday
How fun to help celebrate Technique Tuesday's birthday! Since its a birthday, we need birthday cards. Up first I have a bold and graphic card. The card front has tone on tone stamping with the balloons to create a subtle background. Then the "happy" image was stamped in black ink, colored in with copic markers, cut out and adhered to the cardfront using foam adhesive. Little half pearls were added with glue to embellish the card, and ground it a little bit.
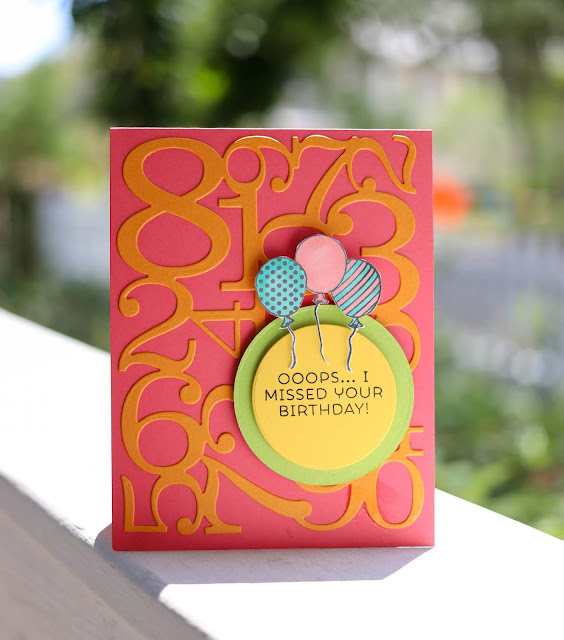
I know I am not alone missing birthday, I am awful about getting a card in the mail on time. But its better late than never, right? The background was created with the numbers die, diecut with orange cardstock, adhered to a pink card base. The sentiment was stamped in black ink onto yellow cardstock, then diecut with a circle die, and layered onto a green circle diecut. The balloons were stamped in black ink, onto white cardstock, colored in with copic markers before being adhered to the card. I love that background die, and cannot wait to make a white on white card base with it! I think it would look so elegant for such a bold die.


Comments