Posts

Showing posts with the label die cutting

Very Cherry Hello

Image
  The kits that Taylored Expressions curates are always so good! This month is no exception. The kit is called Very Cherry and its oh so cute! Before making this card, the color combination running through my head was red/pink, and I wanted to create a patterned paper look. Using the misti tool, the background stamp was stamped onto cupcake cardstock. Using red and green inks, the cherries and the leaves were stamped in. The stencil was adhered over the stamped panel, and using blender brushes, red ink was softly applied. The stamped panel was then adhered to the card front with foam adhesive. Using red and white cardstock and the circle layering dies in the kit, the cardstock was diecut. Before adhering the dies together, the sentiment was stamped in Oreo ink, along with a few hearts in cherry pop ink. Using the clear stamp, a single cherry was stamped and colored in with copic markers then die cut out with the coordinating die. To embellish, a few crystals were added with glue....
Celebrate Freedom

Image
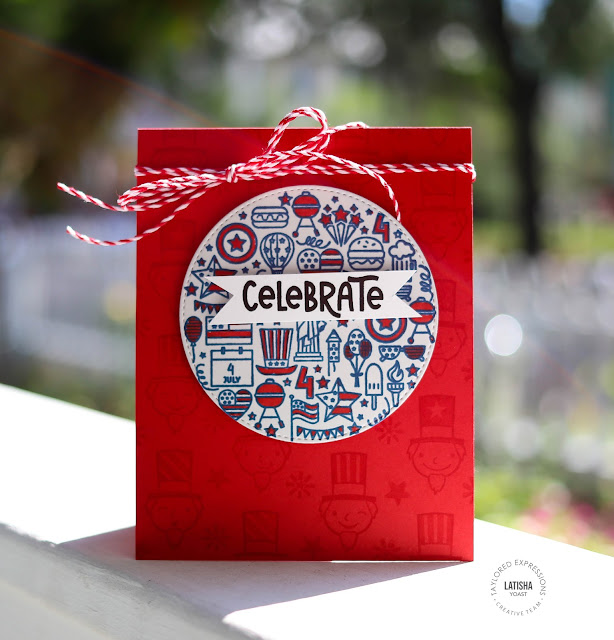
  The 4th of July release from Taylored Expressions is making me excited for summer. There is just something about seeing red, white and blue that puts me in my patriotic feelings.  After scoring and trimming red cardstock to create a card base, the Uncle Sam cling and clear background was stamped in clear ink. The full circle image was stamped in blue ink onto grey cardstock, then colored in with a red copic marker. The image was diecut with a circle die, then adhered to the card using foam adhesive. The celebrate sentiment was stamped in black ink onto white cardstock, cut out with scissors then adhered to the card using foam adhesive. To embellish, a red and white twine bow was added.  The Sketched Flag background stamp, paired with The Inside Scoop Freedom sentiments is the perfect duo to create a bold card. By using the Misti tool, these were created so quickly. After creating the card bases. the cards were secured in the Misti. The blue and red ink were stamped mu...

Congrats Grad

Image
Hello friends, I am back on this lovely Tuesday with a few graduations cards. Taylored Expressions is having a Grad and Teacher release, with all of the goodies to create cards for your favorite teachers and grads.  There are a few cards, that mean more than sending someone a congratulations on your graduation card. It is typically a very pivotal moment in time for that person.  For this congrats card, blueberry ink was blended onto blueberry cardstock using the Grad Cap Layering stencil. For added dimension and break of pattern, diecuts were added to the top center of the card. The congrats was diecut using a die and white cardstock and adhered using glue. The sentiment Let's Celebrate  was stamped, diecut and adhered to the card using foam adhesive. To embellish gold bits and pieces were added with glue.  To fully customize a graduation card, use the colors of the school that the grad attends.  Again, using a simple design helps immensely when mass produci...

Hello & Thinking of You

Image
Hello friends! Taylored Expressions is releasing new stencils and blender brushes today! The blender brushes are smaller, to fit into all the nooks and crannies of your stencils. Which is perfect for stencils where you use a multitude of colors.  Sometimes when creating a stenciled background, I want a muted color and not something as bold and bright as white cardstock. Once the card base and diecut "hello" were created using plum punch cardstock. The process of going through my TE cardstock to find a color that coordinated, started. From past cards, plum punch & peaches and cream go so well together and have been some of my personal favorites, it was an easy decision to make. The stencil was secured over the panel using purple tape. Then using a variety of ink colors and blender brushes, the gradient rainbow was created. Once finished inking a background, the "hello" diecut was adhered to the card using foam adhesive. The crystals were added for a final embell...

Masking Stencils

Image
Hello friends! I hope you are all doing well. Spring is well on its way where I live in North Florida. I love everything about this season except for the pollen. It is brutal this year.  Our friends over at Taylored Expressions have some new masking stencils that are scalloped that can now be layered with the original shape. I started by blending guava ink onto peaches n cream cardstock using the square masking stencil. Then using the negative piece from the stencil, I covered up my freshly blended square. Then I placed the scalloped square stencil onto the cardstock, secured it and then blended the scalloped border with fruit punch ink. The floral image was stamped using a Misti, for perfect placement and to have a nice solid image. At first glance the "thanks" looks like a die cut, but it was stamped multiple times in black ink. Very carefully, I cut the entire square and flowers out with scissors. If you look in the corner of the floral leaves you can see the peaches n cr...

TE Exclusives

Image
  Today Taylored Expressions is releasing stamps that you can now purchase which were once free gift with purchase or exclusive gifts. How fun is that!! At first look, this card looks classy and elegant. But, with further inspection it has a funny sentiment. Its not lying though how true that is. I created a tone on tone background by stamping the spring spray stamp with lavender glaze ink multiple times onto lavender glaze cardstock. Then repeated the pattern onto a smaller white panel. Its a beautiful and easy way to create a card, and the sentiment can be changed out for the occasion. If there is a stamp set that you are on the fence about, take a second look at Big Hello. It has large and small "hello" sentiments in different fonts. In my card I stamped a few different "hellos" in three different inks for contrast, but also to show how well they work tougher too. This is the perfect sketch to mass produce a handful of hello cards to have on hand in your card ...

TE Easter Release!

Image
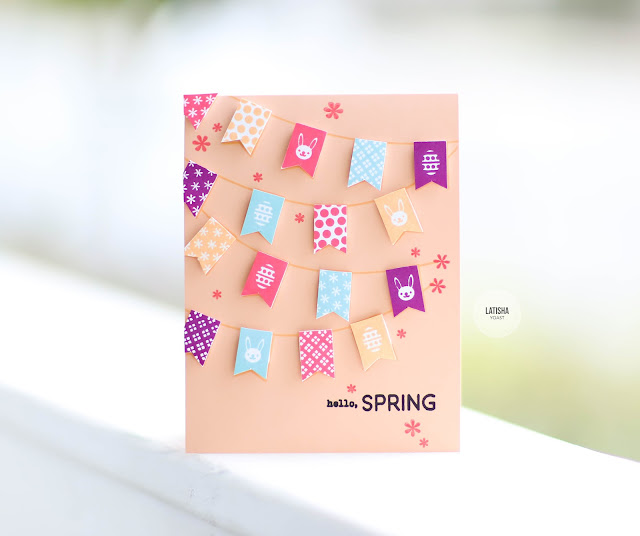
  Hello friends! I get to share such a fun release with you all today, from the Taylored Expressions Easter Release . I think there is a little something for everyone. Make sure you head on over to the website today to see whats new! For this first card, I wanted to use colors I typically don't use together but are bright, colorful and scream spring. The cardstock was cut and scored to 4.25 x 5.5 inches. To begin the Pennant Parade stamp was stamped directly on top of the card base. Using the clear stamps from the Pennant Parade East Set, the pennants were stamped multiple times with different ink colors. They were cut out and set aside. The sentiment was stamped in black ink, and the the little elements around the banner were stamped as well before the pennants were adhered to the card using foam adhesive.  I love it when a cared turns out exactly how you picture it in your mind. This is such a beautiful stamp, I cannot wait to create more cards with it! To start the card b...

Taylored Expressions Valentines Release!

Image
Its January 5th, 2021...its freaking 2021! How wild is that? I am ready for a fresh new year, and I am promising myself, to be excited about it. I am ready for all of the good 2021 has to offer. And speaking of excitement & good, I am sharing some fun new products from Taylored Expressions today.  I am loving that all of the stamp companies are on board with stencils right now, they create an awesome back drop to images, especially when using colored cardstock. I used the Heart of Hearts Layered Stencil to create this red background. Its a stencil set that includes 2 stencils that can be used together or separate. Once my background was inked the images from Love From Max & Millie were stamped in Oreo ink. The hot air balloon and cute little kitty cat were colored in using copic markers, then die cut using the coordinating dies. For added dimension and interest the die cut and sentiment were adhered to the card using foam adhesive.  There is a set of scalloped treat...

Happy Fall

Image
Outside In Stitched Pumpkins plus Fall Fling kind of equals magic. This paper collection inspires me to make pretty things! I used both of the new pumpkin dies from Lawn Fawn to create this dimensional pumpkin as well as the leaf dies that are included. To get the depth in the leaves, each leaf is adhered using foam adhesive.  This might be my favorite card that I have made from this release. It flows nicely, and the colors are just so beautiful. Here is another card using the pumpkin dies in a different way! Head on over to the Lawn Fawn blog to check out all of the wonderful projects being shown today. As well as getting a chance to win new product!

Fall Build a House

Image
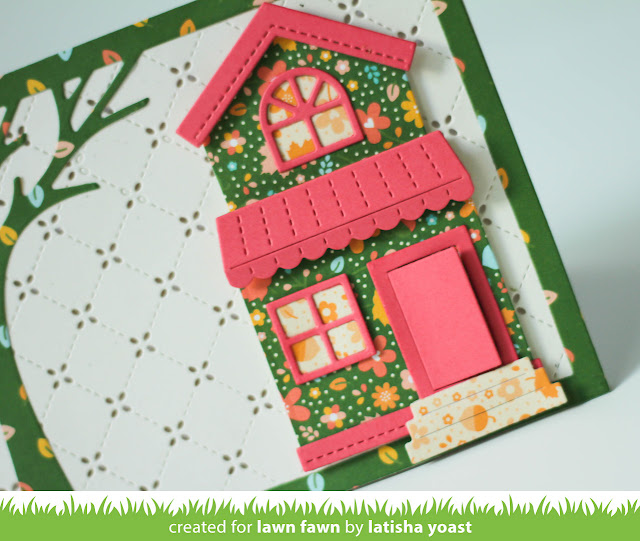
I am so excited to share this card today using the Build A House die from Lawn Fawn . I am sharing the house, how the house comes (minus a few extras) but there is also a Halloween add on die kit and Christmas add on die kit.  This is a super versatile die, and it can pair with just about any Lawn Fawn stamp set! I created a simple card, that would be perfect to send to someone who just bought a new house, moved, is adding to their family etc! Pair this die with the add ons and you can go next level with Halloween and Christmas cards. If you like to build scenes this would be great to have as a staple! Head on over to the Lawn Fawn blog , to see how all of the designers used this die in fun and different ways!